How to make a dollshouse needlepoint footstool
ONLINE MINIATURE NEEDLEPOINT EMBROIDERY TUTORIALS

These tutorials were originally written to help people who had bought my dollhouse needlepoint kits – they show you how to do the stitching and assemble each type of kit. In November 2024 I retired, so these pages are now a ‘legacy archive’ only. I NO LONGER SELL THESE KITS, so please do not contact me asking where you can buy them! I plan to keep these tutorials available until at least the end of 2026, so that people who bought kits but haven’t made them up yet have a while to use the tutorials to complete their kits 🙂
These elegant miniature footstools are lovely small additions to your doll’s house. They measure one and a quarter inches in diameter, and just three eighths high, including the bun feet. They are to be stitched in tent stitch (similar to half cross stitch) on 28 count evenweave fabric. This means that they are quite quick to do, as you only need to stitch the design detail – the background fabric is left showing, as it is already coloured.
The kits contain an easy-to-assemble mahogany footstool kit, along with the stitching kit.

To start with, identify the thread colours using the colour key.

Using tent stitch as indicated on the diagram, start the design in the centre. Remember that one square on the chart equals one stitch, and always use a ‘stabbing’ motion, not a ‘sewing’ one. See the NEEDLEPOINT STITCHES and COUNTING FROM A COLOUR BLOCK CHARTtutorials, if you are new to miniature needlepoint.
Using one strand of thread in the needle, begin each length by knotting one end and taking the needle from the front to the back of the evenweave fabric, about half an inch away from where you intend to start stitching. Stitch towards the knot, securing the underlying thread as you go. Snip the knot off when you reach it. Finish each length by running the needle under a few threads on the back. When the stitching is complete, press it face down over a soft pad such as a towel, using an iron on cool setting, pulling the fabric gently if necessary to get it dead square.

Trim the stitched fabric to two inches (5 cm) diameter.
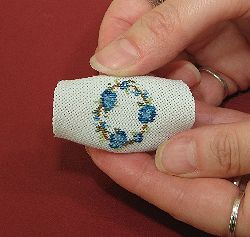
Centre the fabric on the mount. Carefully fold the fabric to the back, first in one direction…
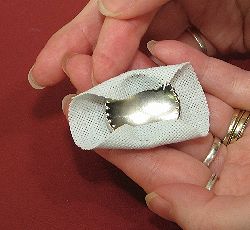

then at right angles to the first folds.
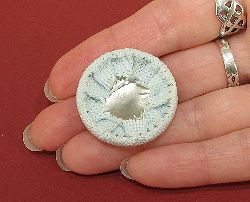
Finally, fold the remaining fabric back, easing out the fullness as you go. Make sure the fabric is tight on the mount, and centred.
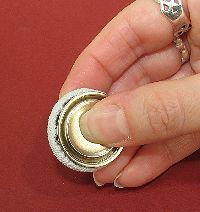
Press the back plate down hard to fix the fabric in position.
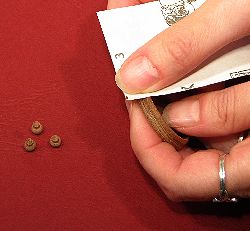
To complete the stool, first lightly sand the mahogany pieces.
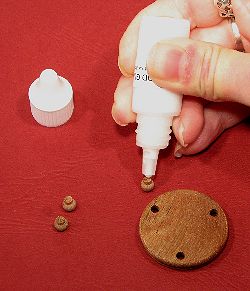
Then, using wood glue, fix the bun feet into position.
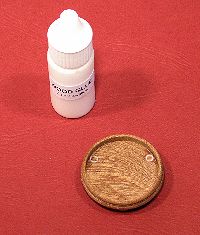
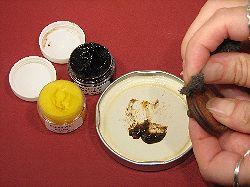
Polish the stool with wax polish, applied with wire wool…
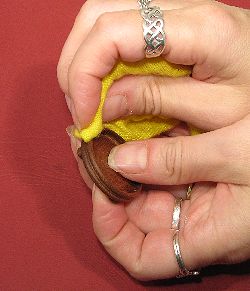
and buff to a shine with a soft cloth. Two coats will give a good colour.
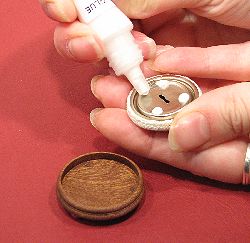
Sparingly spread glue on the backplate…

…before placing the fabric-covered button in the wooden base to complete your footstool.
