How to mount silk gauze for dollhouse needlepoint embroidery
ONLINE MINIATURE NEEDLEPOINT EMBROIDERY TUTORIALS
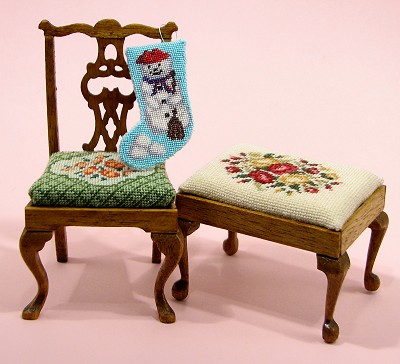
These tutorials were originally written to help people who had bought my dollhouse needlepoint kits – they show you how to do the stitching and assemble each type of kit. In November 2024 I retired, so these pages are now a ‘legacy archive’ only. I NO LONGER SELL THESE KITS, so please do not contact me asking where you can buy them! I plan to keep these tutorials available until at least the end of 2026, so that people who bought kits but haven’t made them up yet have a while to use the tutorials to complete their kits 🙂
Several of the types of kit that I have designed are to be worked on silk gauze – usually 32 count. If you have never stitched on a fabric this fine, it can seem daunting at first, but it needn’t be. I recommend that whenever you stitch on silk gauze, you use a card mount to hold the gauze taut, as this helps to keep your stitch tension even, and also makes it quicker to do each stitch. You can get really even, professional-looking results with your very first attempt if you mount the silk gauze, rather than simply hold the silk gauze in your hand.
For each type of miniature needlepoint kit in my range that uses silk gauze, the instruction sheet will tell you the size of the mount that you need to cut, and also the size of the aperture within it. In this tutorial, I will use the silk gauze piece for one of my dining chair kits as an example.
32 count silk gauze is the easiest one to start with if you haven’t stitched on silk gauze before.
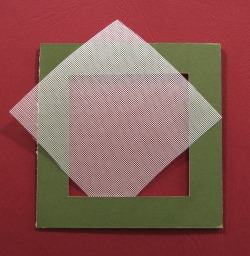
First of all, cut a piece of mount board (such as artists use) or stiff cardboard to the dimensions listed on the relevant instruction sheet. In pencil, mark the size of the aperture centrally on the card. Using a sharp craft knife, and resting on a piece of scrap wood (or something similar, to protect your table!) cut out the hole carefully along the pencil lines.
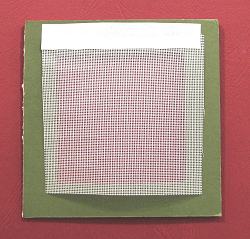
Cut a length of one inch wide masking tape the length of the longest side of the card mount, then cut it longways in half. Fix one side of the piece of gauze along one long edge of the mount.
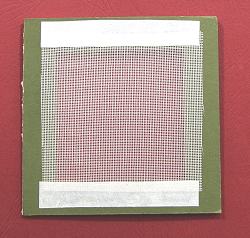
Stick the masking tape along the opposite edge of the silk gauze, and position it carefully in place on the other long edge of the card mount, making sure that the grain of the fabric threads is as straight and square as possible, and that the gauze is pulled taut, before pressing the tape in place firmly on the mount.
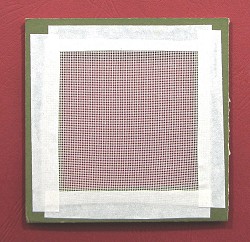
Cut a second piece of masking tape, and again, cut it into two long strips. Fix the two remaining edges of the gauze in place, holding the silk gauze completely taut on the mount.
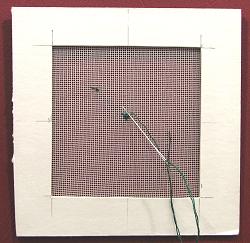
Although you can choose to have the side with the masking tape on, or the other side, as the ‘front’, I prefer to stitch with the non-taped side as the front, as it is visually ‘cleaner’. I find it helpful to attach the colour block chart that I am working from to the top of the card mount with paperclips, so that it is really quick and easy to count from. Glancing from the silk gauze to the chart in this way is less tiring on your eyes than looking away to a chart placed at a greater distance. When you begin stitching, you now have a tidy, taut silk gauze surface to work on, helping you to create a perfect piece of needlepoint embroidery!
